I quite loved my inquiry topic. Obviously we as humans spend a lot of time in the kitchen, and when we get busy it is easy to get carried away and lose the spark behind feeding yourself. Nutrition is so important and fuelling your body is not something that should be taken lightly. My advice for anyone deciding on a possible inquiry topic is that they consider topics that infiltrate their life more than one time a week. With cooking, obviously we are in the kitchen at least 3 times a day (bar meal prepping or and dietary restrictions). Doing something repetitive everyday can get so boring but when you have to step out of the box it keeps you interested and then you are able to have a better mentality behind it.
I most enjoyed the outcome of my inquiry topic because it always meant food! I love eating and I have a new found appreciation for chefs or bakers in the kitchen.
I did not use any EdTech tools, as it was all about experimenting in the kitchen which is all hands-on.
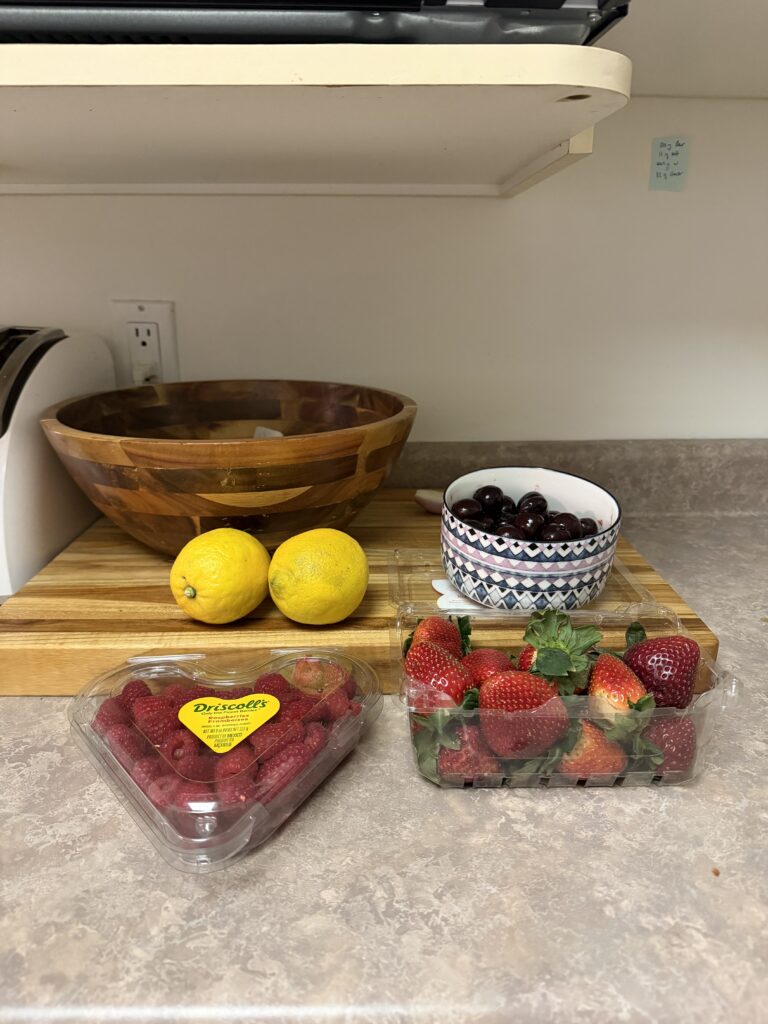
This week I made jam! I followed this reel on instagram for the following.
This recipe requires about 4-5 cups of fruit about 1 cup of sugar (I used brown) and about .5-1 lemon juice
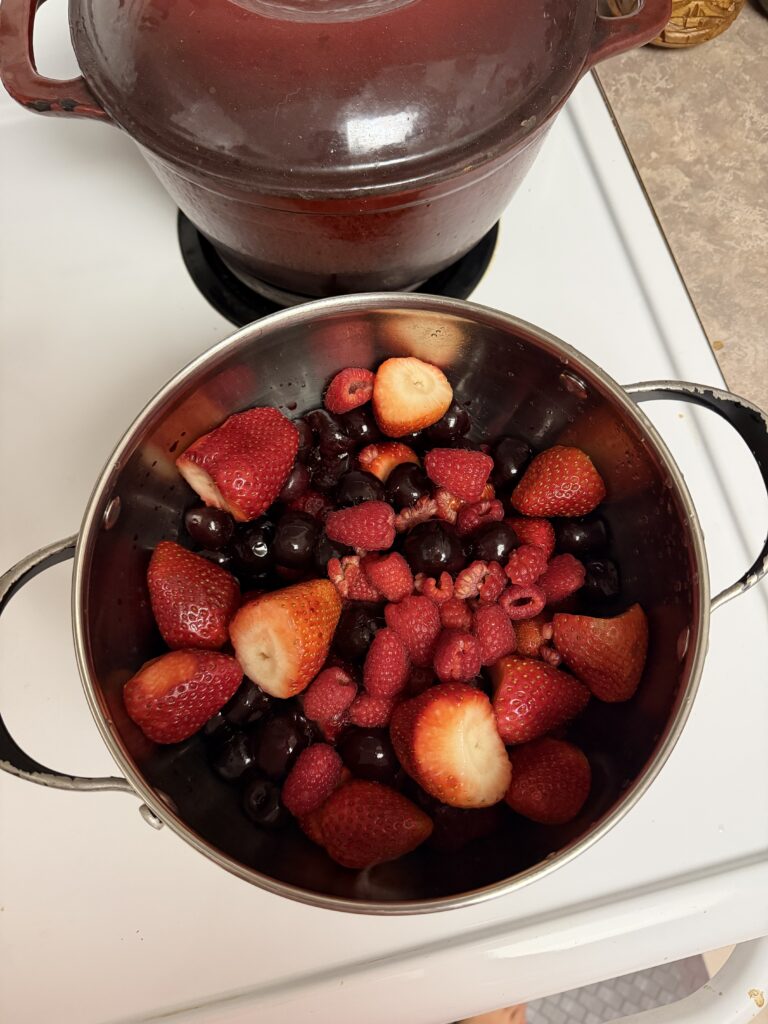
IngredientsBerries in the pot
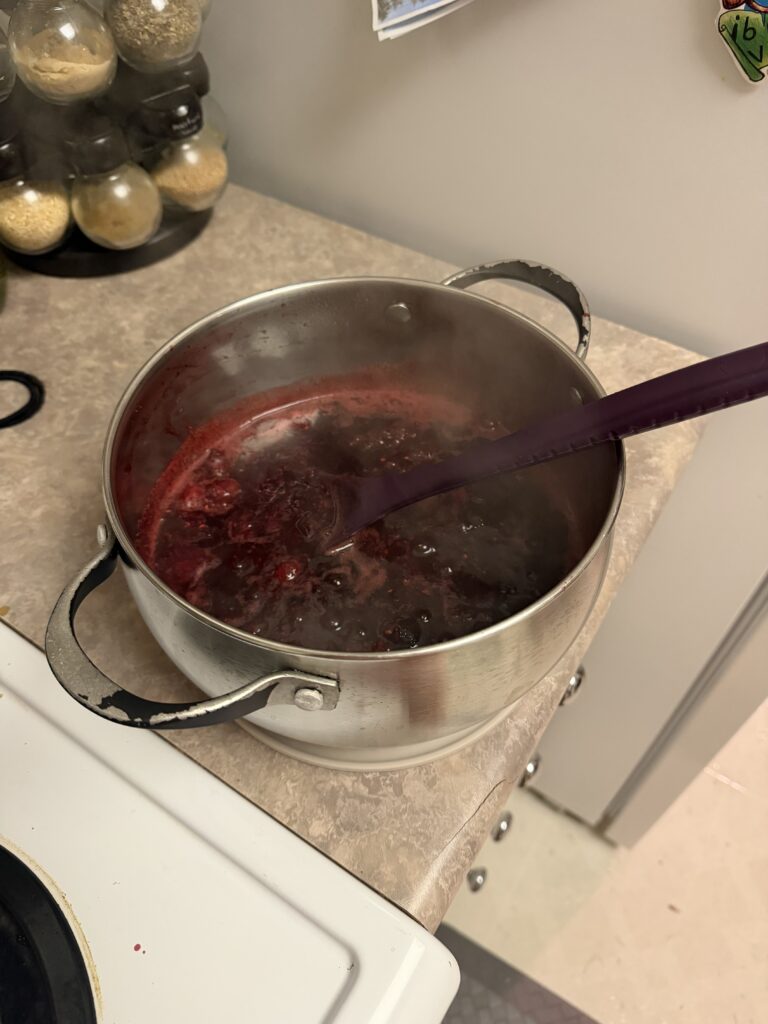
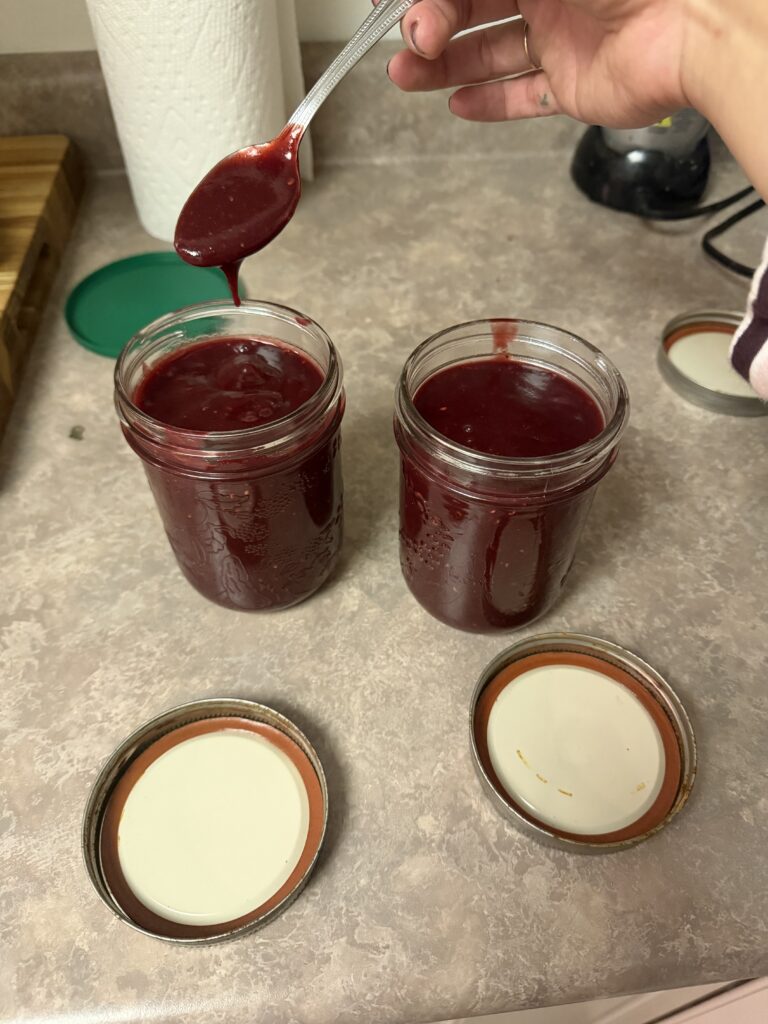
So I threw all the berries, sugar, and lemon juice in the pot, stirred and got it bubbling and boiling, then turned the heat down to low medium. I had to keep stirring frequently for about 20 minutes. The video said the jam was ready when I swiped the back of the spoon with my finger and the jam doesn’t run.
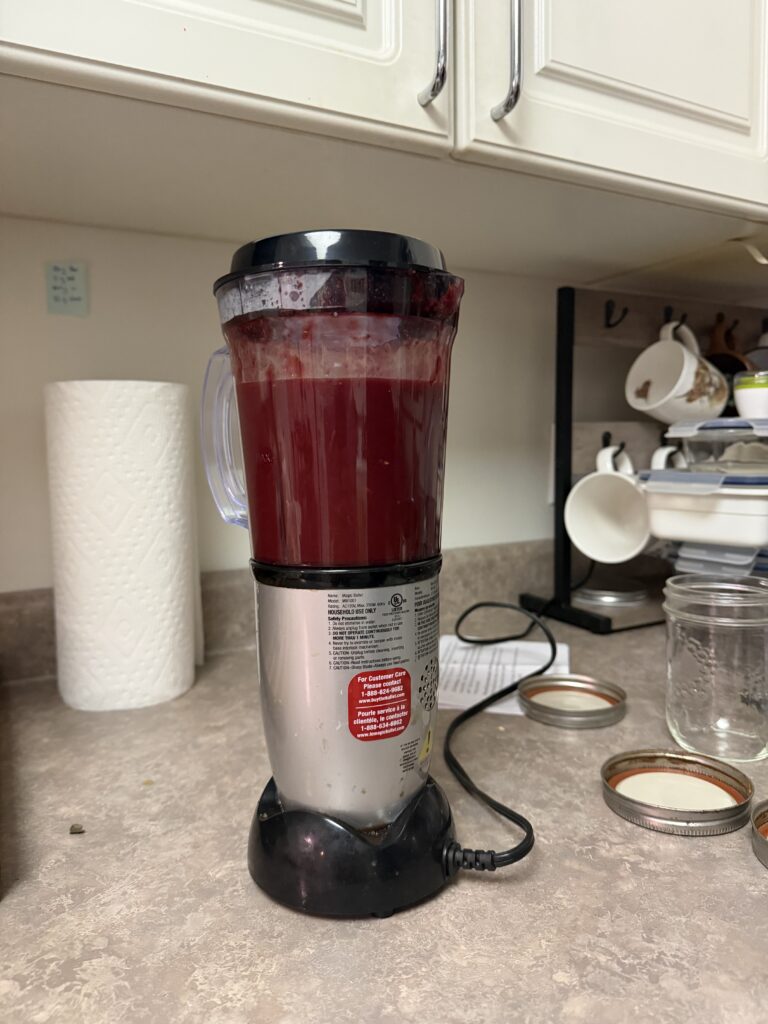
I decided to throw it in the blender after it cooled a bit because I wanted a smooth jam like in the video I was following and I am so blown away by the product. It’s honestly so much tastier than jam you buy at the store, and so easy to make.
Jam concoction simmeringJam product in the blender
I am very happy with how this turned out. A few people asked me if I would use pectin next time and after some research I don’t think so. Even though my jam was not as set/as jelly-like as a traditional jam, from what I have seen online (here is an example) all I need to do is boil it longer so that it removes more water from the fruit. It also seems like pectin ratio depends on the fruit you use and that just seems so complicated for no reason when it’s just as good without.
Okay I saw this reel on instagram to marinate your eggs and so I had to do it and make ramen to go with it. Obviously.
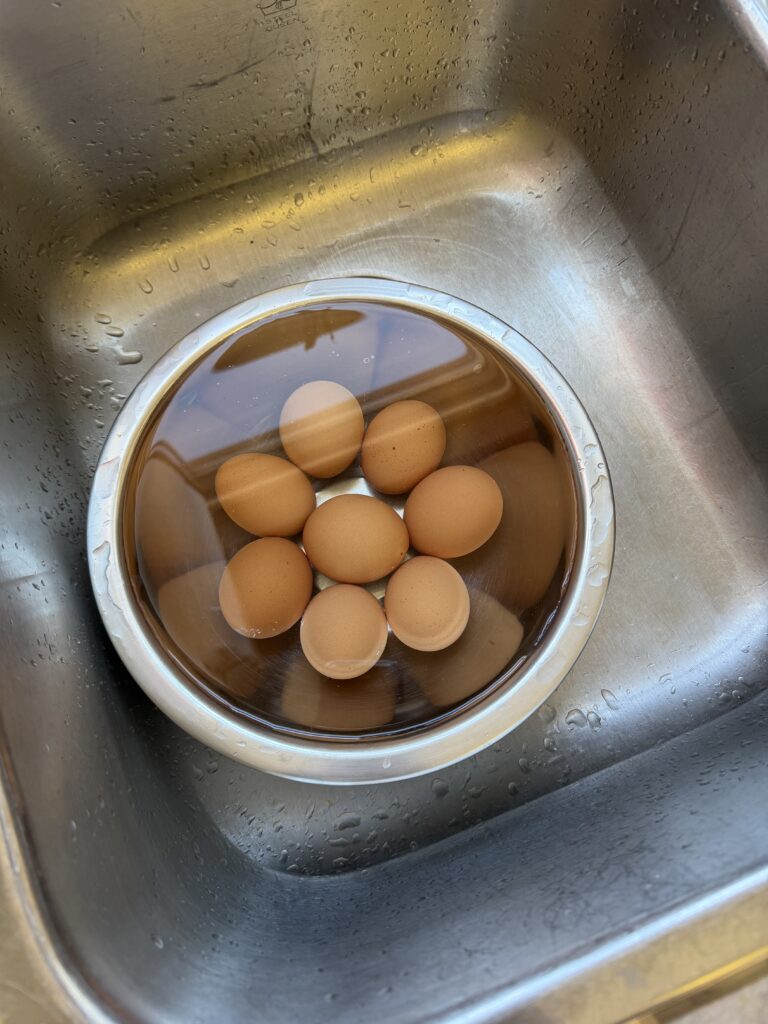
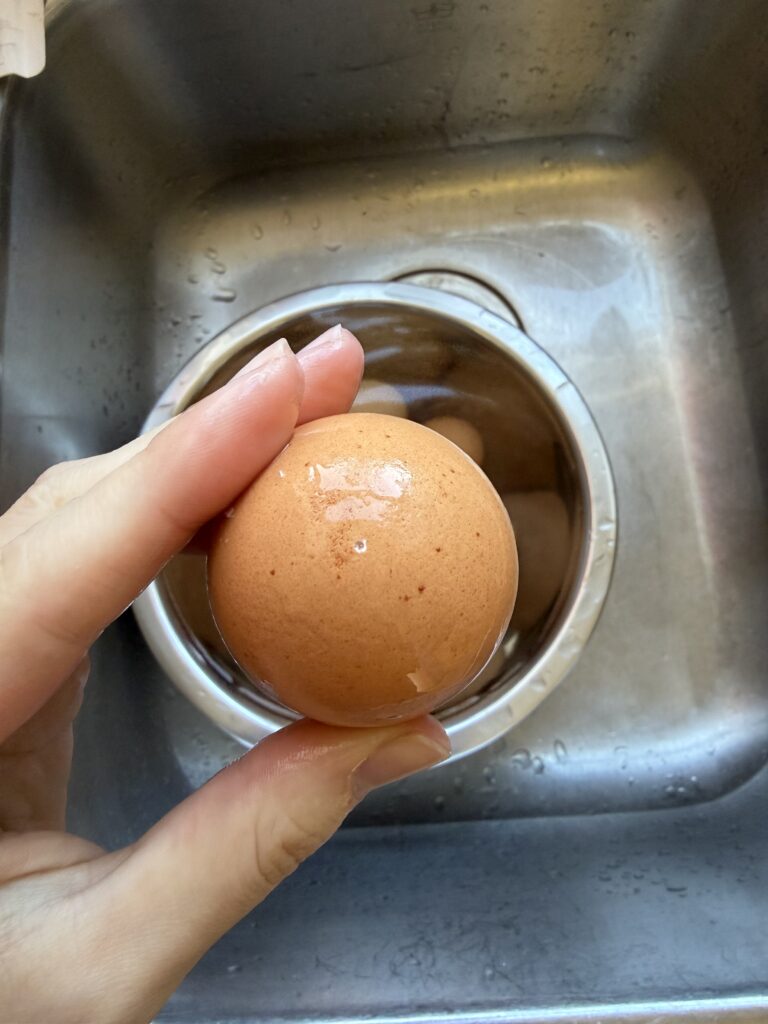
It gave very specific instructions on how to boil your egg for the perfect jammy-ness. Bring the pot to a boil, put the eggs in all at once, leave it on high, after 6:30 mins exactly put the eggs in an ice bath. Also, he suggested I poke a tiny hole in the flatter part of the egg so that it would be easier to peel.
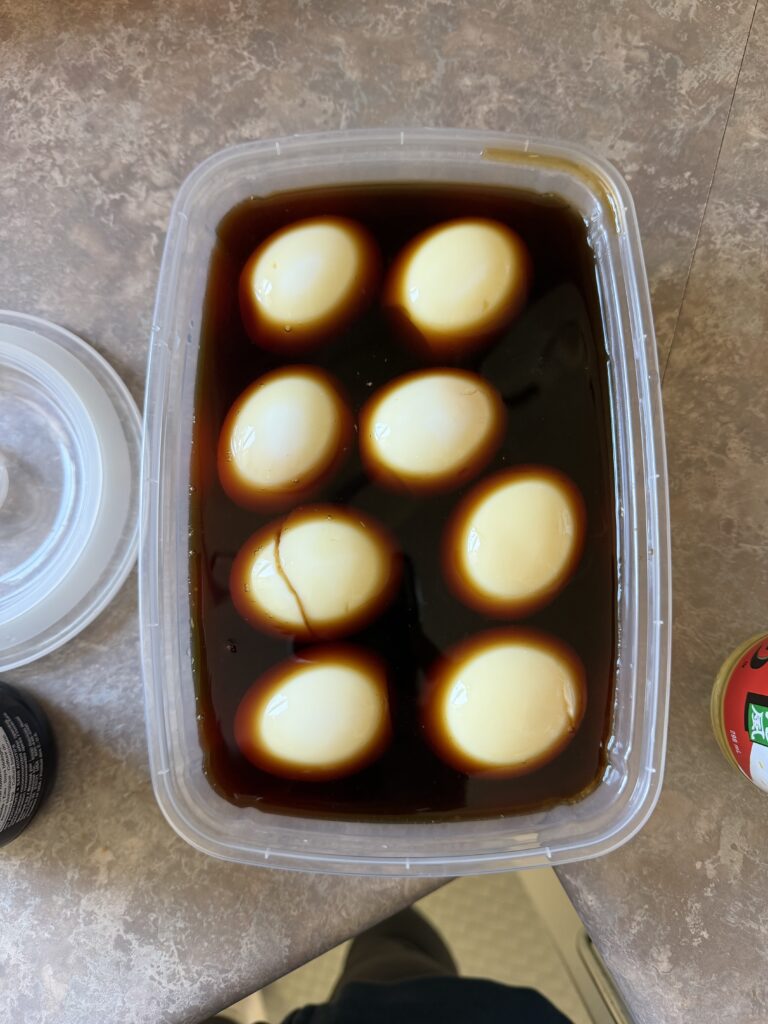
Eggs in a now melted ice bathLittle hole made with a thumb tackEggs in marinating sauce!
After 3 days, I could finally make ramen since I had to wait for the eggs to finish marinating!
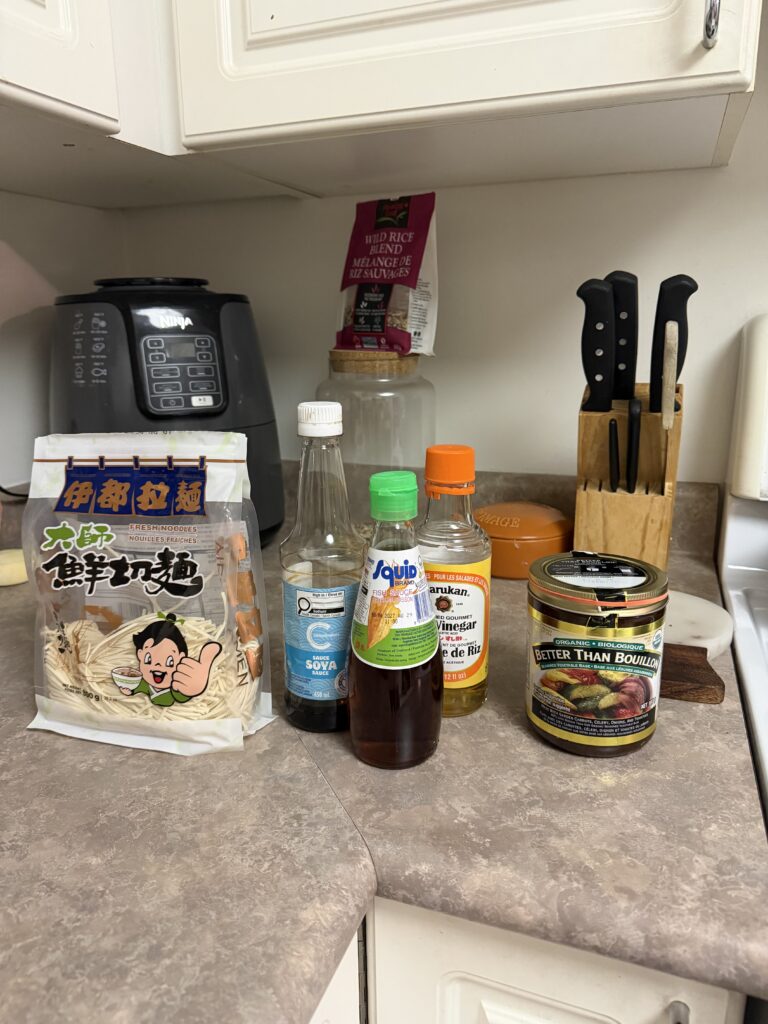
To make the ramen, there was not one specific ramen recipe I could find that looked satisfactory to me. It either looked too boring, too complicated, I didn’t have enough ingredients, or the comments said it tasted bad. So after looking at a few different ones I’ll link herehere and here, I ended up just putting together random ingredients I had that were mentioned in the recipes.
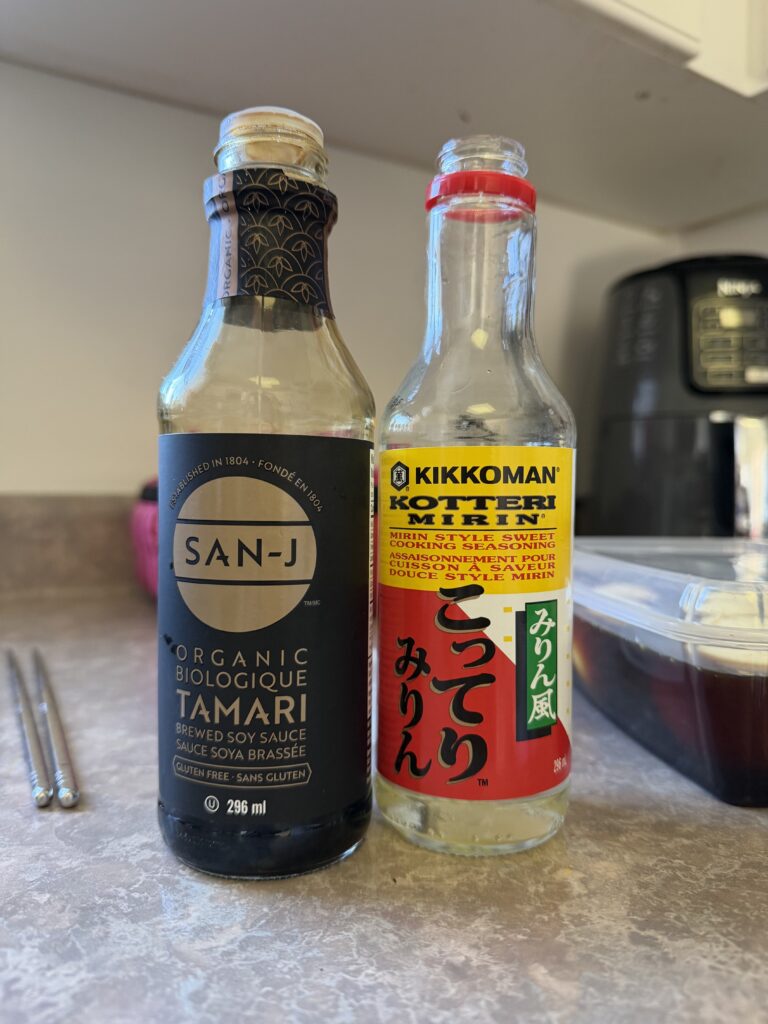
The egg yolk baseThe broth base and noodlesThe marinating sauces
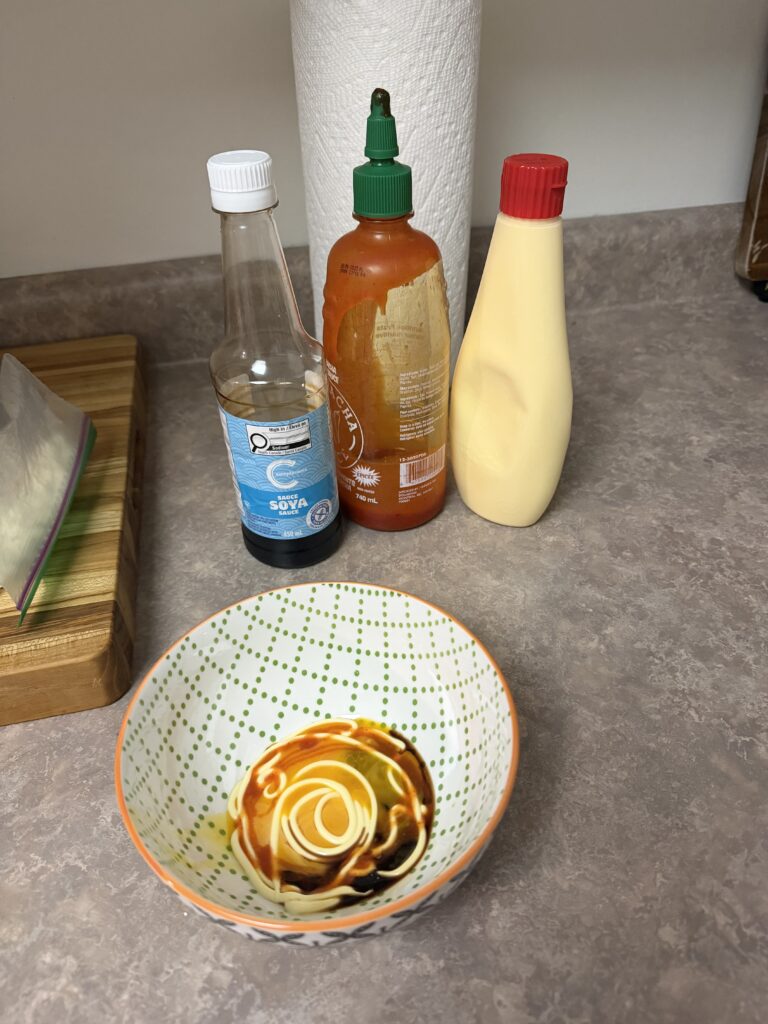
They all mentioned whisking an egg yolk, sriracha, kewpie mayo, and soy sauce together first. Then I made the broth with minced shallot and garlic, veggie stock and added fish sauce, rice vinegar, and more soy sauce. I also ended up adding some miso paste that I had in the fridge.
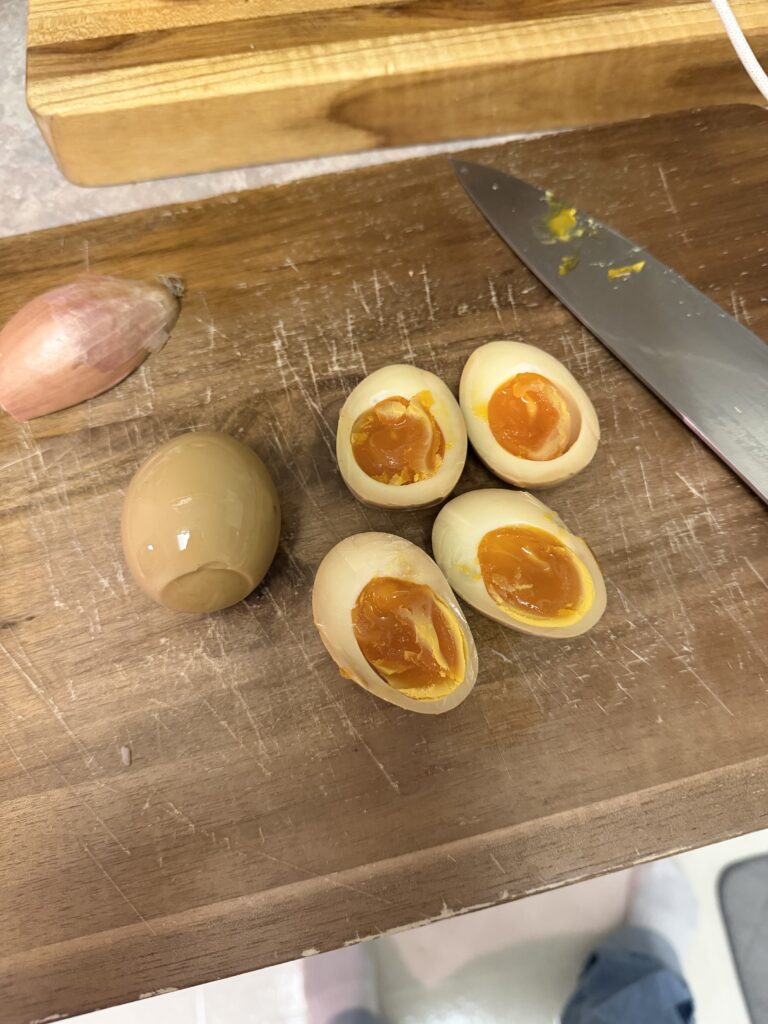
RAMEN EGGSThe finished ramen topped with green onions
The eggs turned out PERFECTLY (maybe 10 seconds overcooked) and the ramen I would rate it 8/10 which is pretty good for my first time. Next time I would like to try to make tonkatsu ramen (made with pork bones) and maybe experiment with some different ingredients I didn’t have like coconut milk or soy milk or gochujang sauce.
I am using a kitchen scale to measure instead of cups. This is a more reliable and exact way to make sure I have the most control.
I kept the same recipe that my friend uses and just converted it to grams to see if that would make a difference too.
I changed my flour brand. It is still Semola but it’s by a different brand. Seems much finer than the previous so maybe this will turn out better?
I fed my starter twice before using it to bake and when I fed my starter I used a different ratio – 1:10:10 (better to leave for 12 hours according to my research).
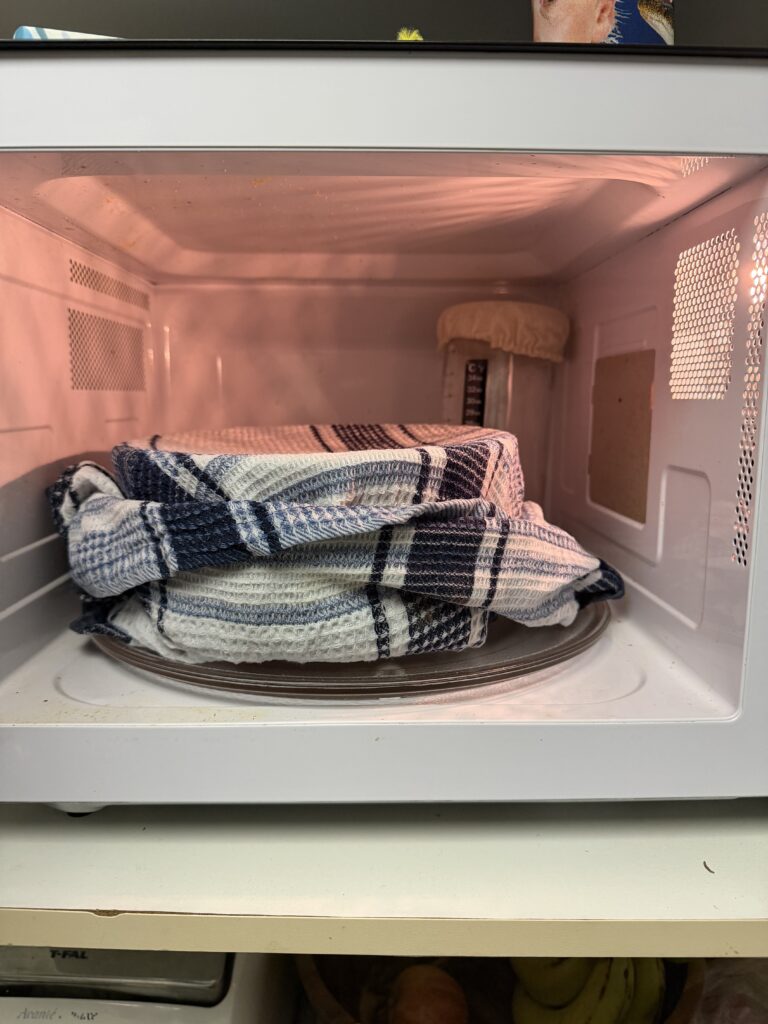
When I would leave my starter or dough to rest, I would keep it in the microwave with the door left open so the light inside stayed on. This is so the temperature stays consistent and warm (about 25˚ C).
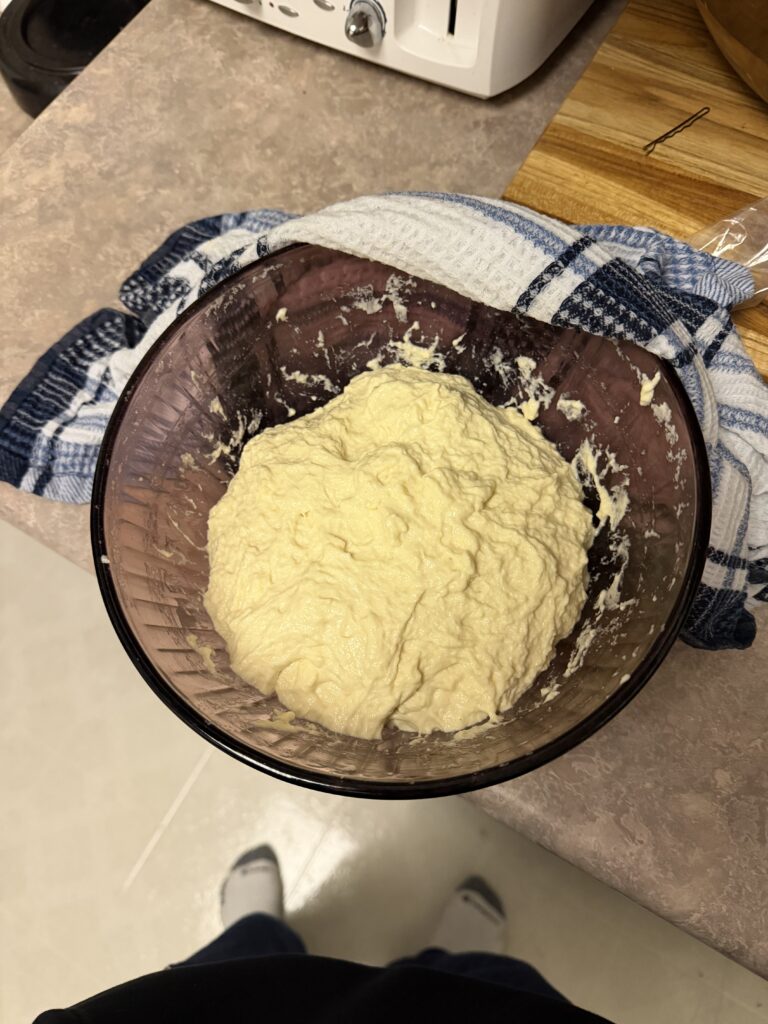
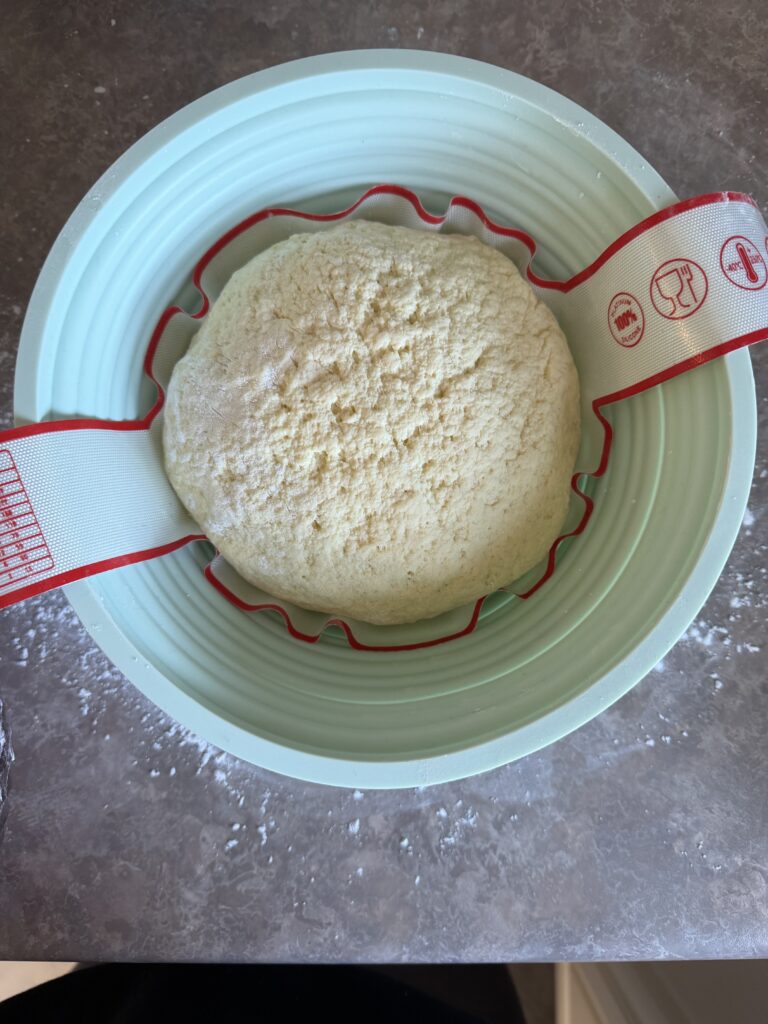
So after I fed my starter and it reached it’s peak, I measured out the ingredients for the bread which is 10 g of starter, 442 g of water, 11 g of salt, and 500 g of flour. The same recipe as before. Then after a good mix, I covered it in a damp tea towel and did 4 sets of stretch and folds. In between each stretch and fold I would leave it for 15 mins. Eventually it got a bit less sticky and then I left it covered until the next day!
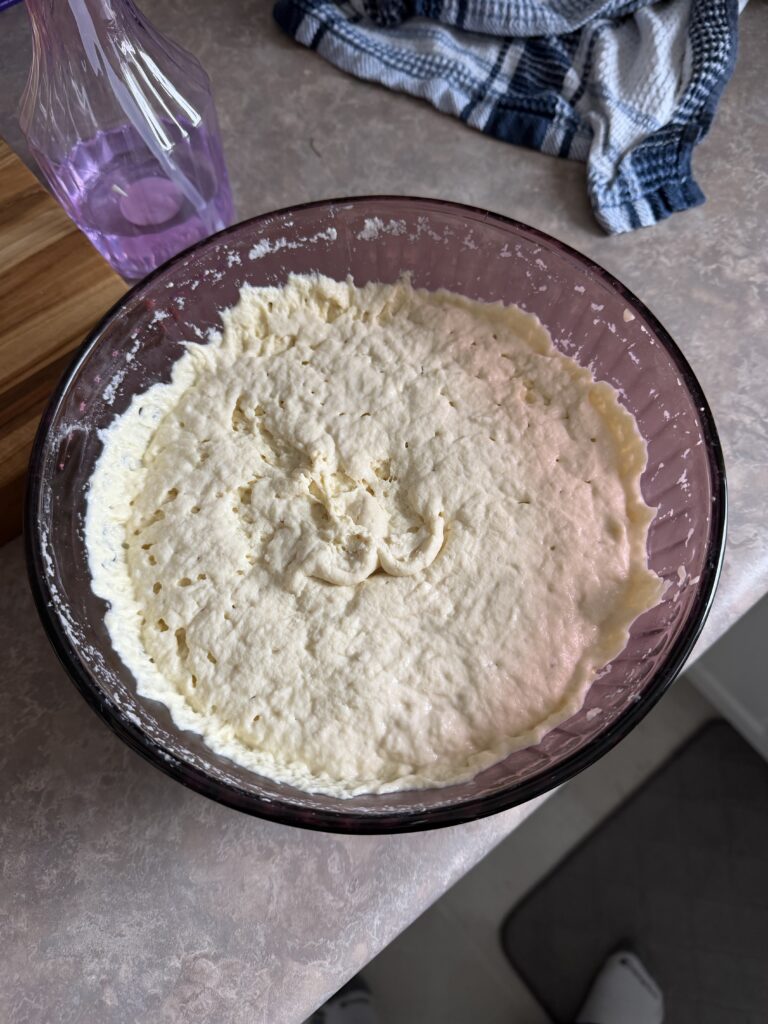
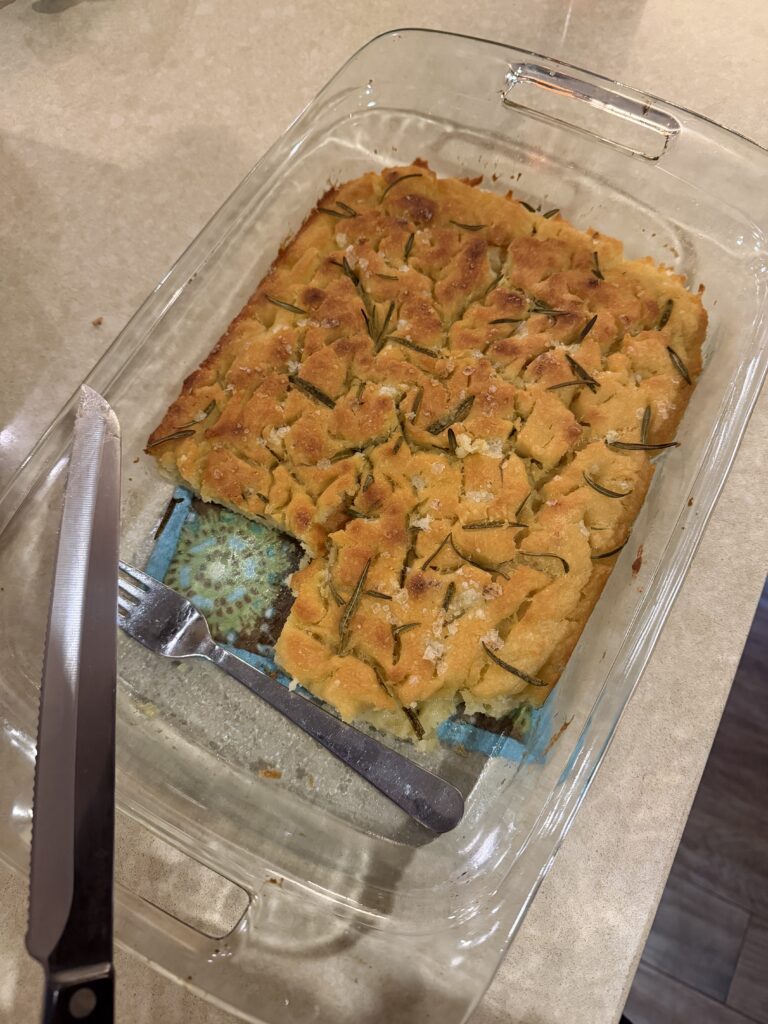
The next day when I went to shape it, I see that my dough has expanded nicely however it had signs of over-proofing! Again!! With the poke test the indents didn’t spring back, it was very flat and sticky and it seemed to have risen over 50%. Frustrated because I didn’t want to bake a heavy dense bread again, I looked to instagram for support. Turns out, you can make focaccia bread with overproofed sourdough!
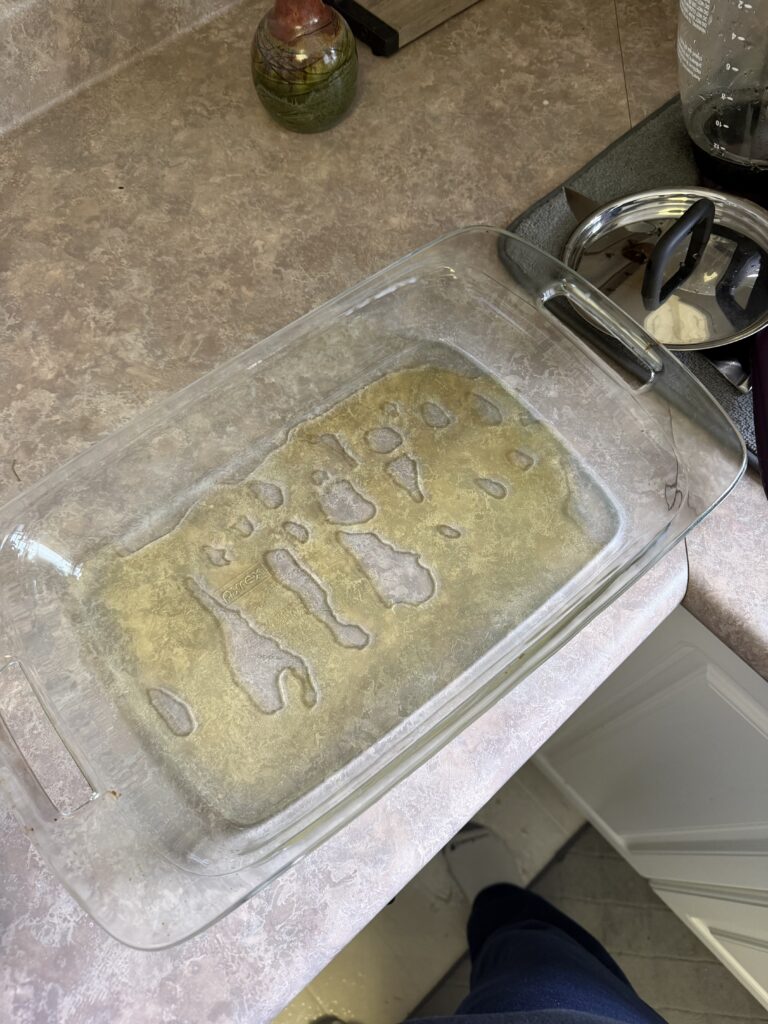
Spirits high again, I followed this recipe on pivoting to focaccia bread. I oiled my dish, spread out my dough, let it rest for just over 2 hours, then added more oil, did the dimpling, and added rosemary and flakey salt! When I took it out of the oven it looked so pretty and smelt so good I was so excited. It tasted okay… It was moist which was good and the rosemary and salt were super yummy but it was a bit sour (shocker).
I am happy with how this turned out! I am excited to try and make focaccia one day with a proper recipe and excited to try sour dough again….
For my inquiry project, I decided to do some experimenting in the kitchen! Initially it was just going to be a bread making journey but I have decided to expand and include other projects in the kitchen that I have never tried and/or require time and research. I am really excited about this, I like the idea of creating things from scratch. Some ideas I have are making butter, jam, and pasta.
My initial goals are to push past the idea of being successful right away and building mental resilience in the kitchen! I also want to be more comfortable with different sets of tools and items in the kitchen, as well as understand what goes into some of the items we eat. I will be utilizing instagram/tik tok the most honestly, because I find it really helpful seeing how they make it too and I like reading the comments to see other peoples experiences and thoughts. Then google will also be helpful as well to find quick answers.
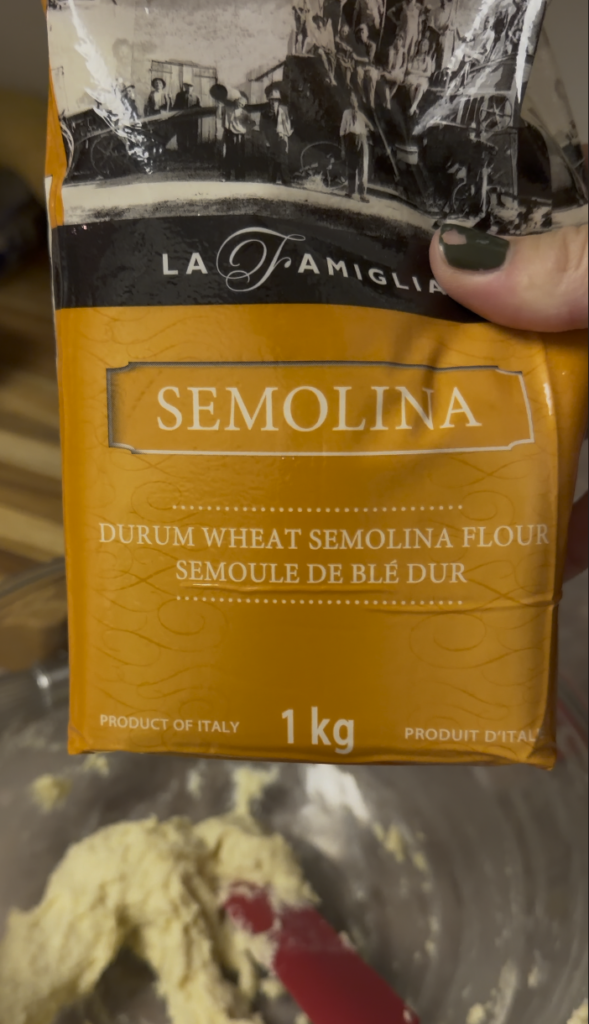
For my first week I am attempting sourdough! My friend’s mom gave me some starter to try making sourdough (shout out Karen!). I made it one time a few weeks ago in Calgary and honestly I think it went pretty well for a first time ever. That was with Caputo’s Semola flour but now in Victoria I could only find Semolina flour by La Famiglia. I looked up the difference and this one is not as fine, better for pasta but could still be used the same. So I went for it.
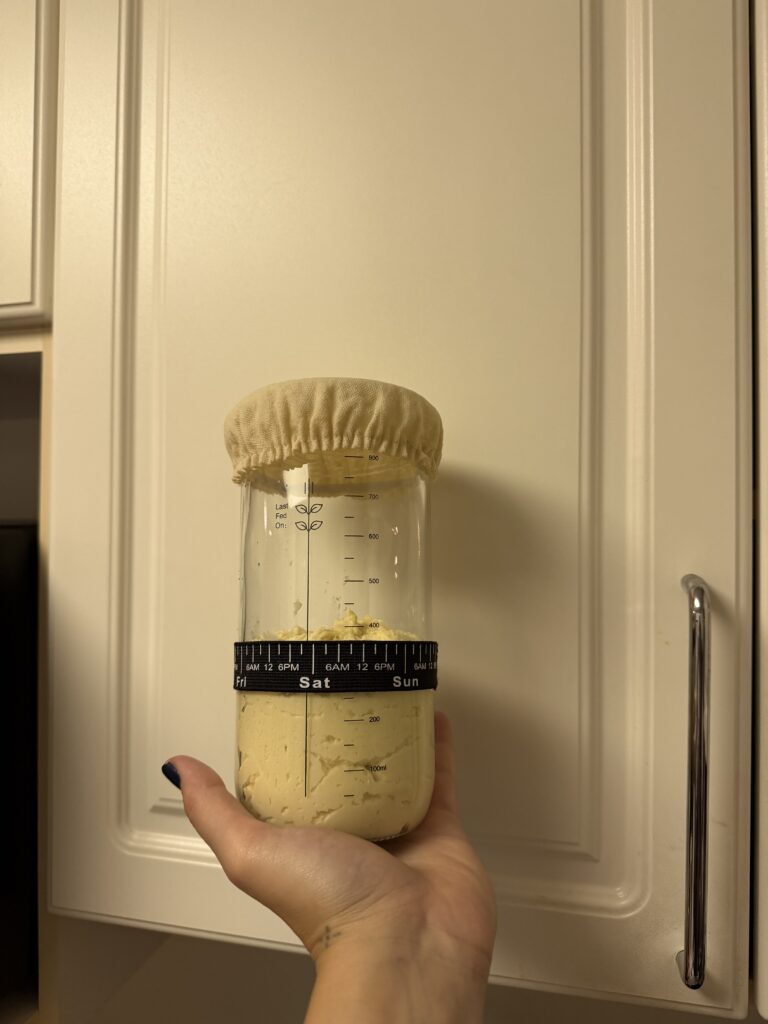
I fed my starter. Everything I do I follow these step by step instructions that my friends mom gave me. So the ratio I used was 1/2 cup starter, 1/2 cup water, 1 cup flour (1:1:2). I get a lot of videos on my instagram about other suggestions throughout this process and I want to implement that into future attempts but I have to try it the way I was told first with this new flour. I noticed with this dough that the mixture is a bit denser, I can see that the different coarseness is making a difference in the texture. Nothing I can do about that so after I feed the starter I put it back in its jar, mark how far up the starter is, then leave it to double or triple on the counter with his chefs hat dampened up.
Flour I used
Starter that was fed and left to double
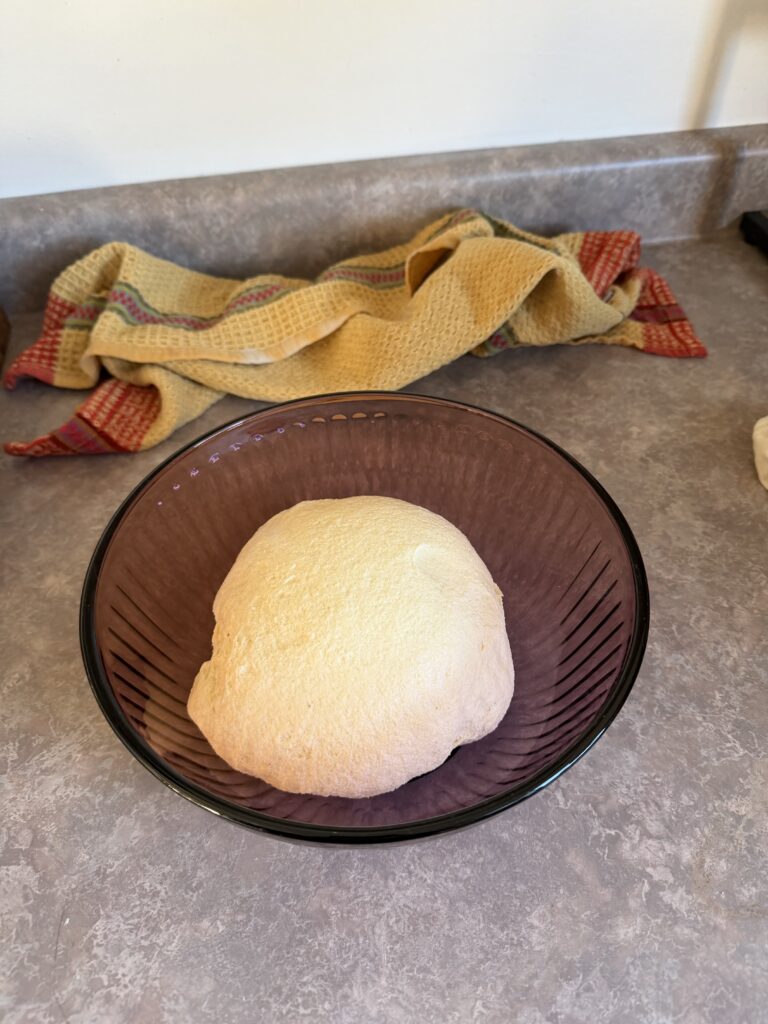
After it doubled, I mixed 1/3 c of starter and 1 and 7/8 c of water together until it was milky and shaggy. Then I added 2 tsp of salt, mixed that then added 4 c of flour. Then I covered in a damp tea towel and left it for 15 minutes. After 15 minutes I did a round of stretch and folds then let it rest again for 15 more minutes. I did this 3 more times then finally left it to rest on the counter overnight.
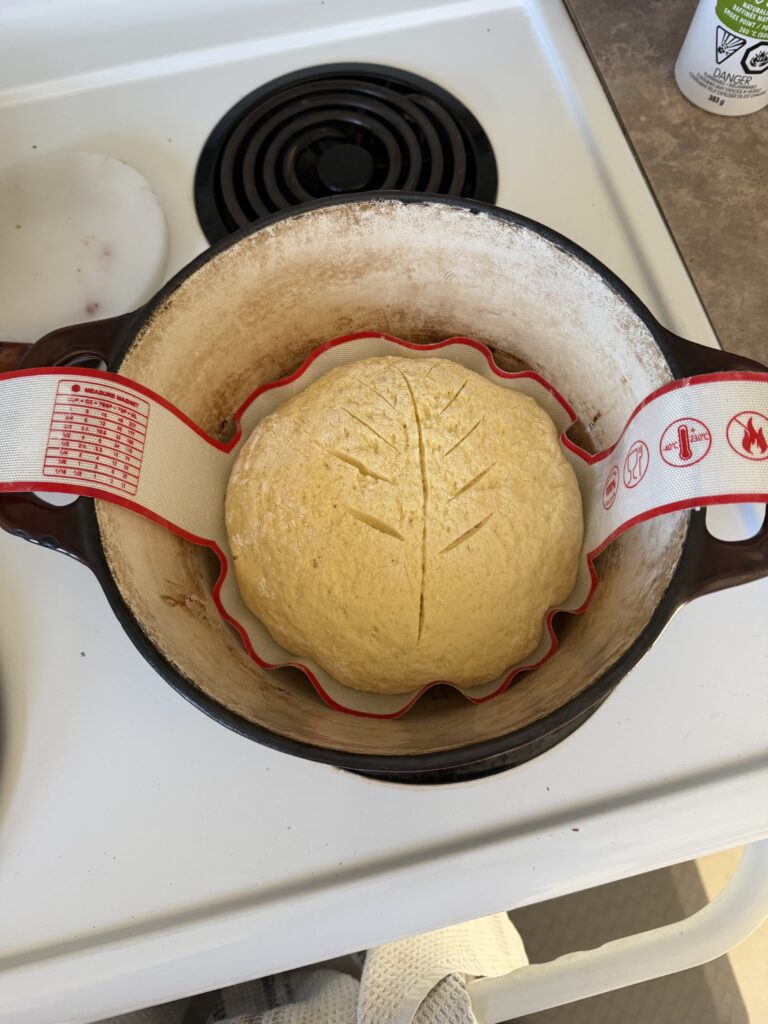
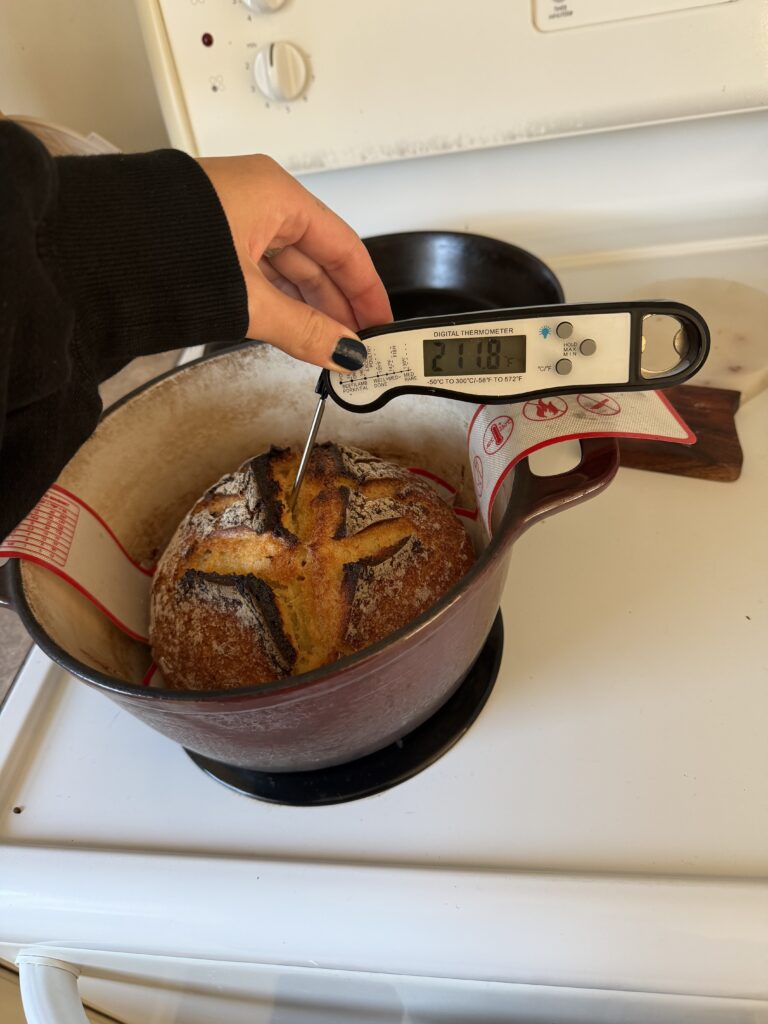
The next day I shaped the bread dough by tucking it around until it forms a tight ball. This was harder to do because it was stickier than I thought it would be. I think this means I over-proofed it? Meaning I left it on the counter for too long so it ferments for too long and loses its structure. After a quick google I decided to throw it in the oven anyways and see what happens. I preheat the oven to 475˚F with the dutch oven inside for an hour while the bread dough proofed in the fridge. After it proofed, I moved it into the dutch oven, scored it, and baked it. The recipe says to bake with the lid on for 30 minutes then pull the lid off for 15 minutes. However, after I did that I checked the internal temp just to make sure and it was still about 30˚ below what it should have been (around 200˚-210˚ F). So of course I left it in and periodically kept checking on it until it was ready then let it cool down for an hour outside the dutch oven.
There is what is called a “knock-test” where you knock on the bottom and if it sounds hollow, then the sourdough is fully baked. Apparently you are supposed to do this after it comes out of the oven but I did it after it cooled. As you can hear below…. not very hollow. That is when you return it back to the oven but since I knew the internal temp was correct I knew something else was off. That and how sharp the crust was.
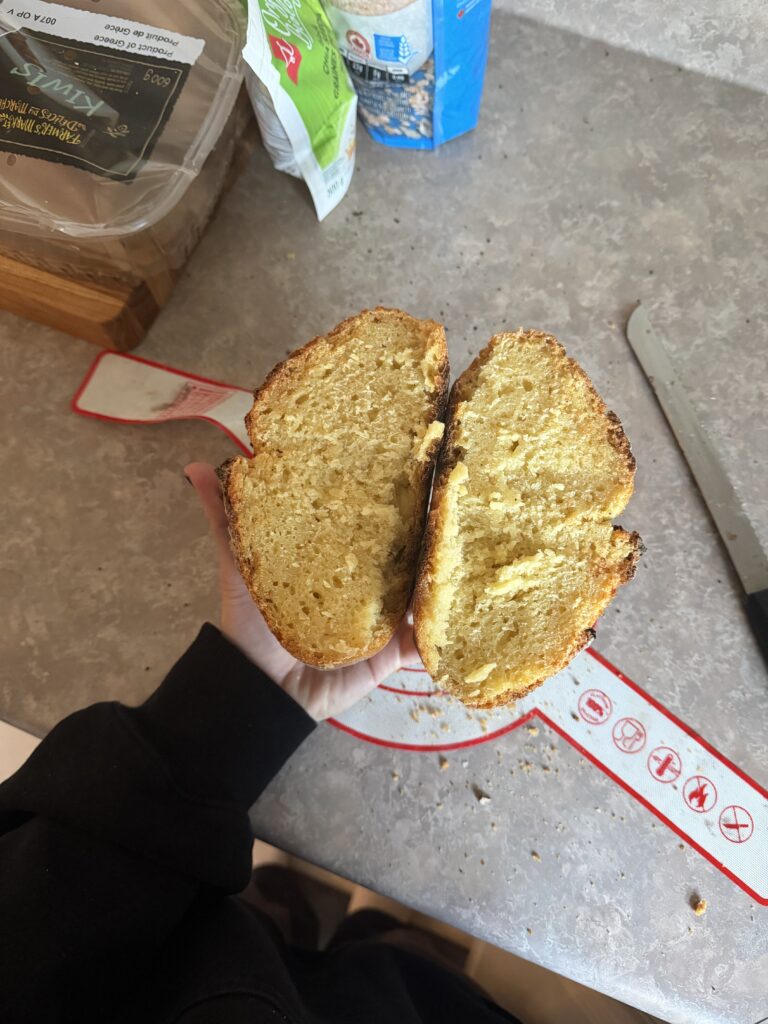
It took me a really long time to cut through the crust and low and behold, a un-airy, very dense sourdough bread. It was pretty gummy on the inside and the crust was so hard and sharp it was inedible. The bread itself when you pulled it out from the crust was okay. A bit more acidic and gummy than good sourdough but bread is bread! And this was only my second time! Not sure at all what went wrong but this is a learning curve and I can only try and do something different next time.